Version 3.0 allows custom fonts. The interface has changed a bit since the previous version, so follow these instructions carefully.

First choose [IMAGE] to open the image functions. Then go to the Body section.
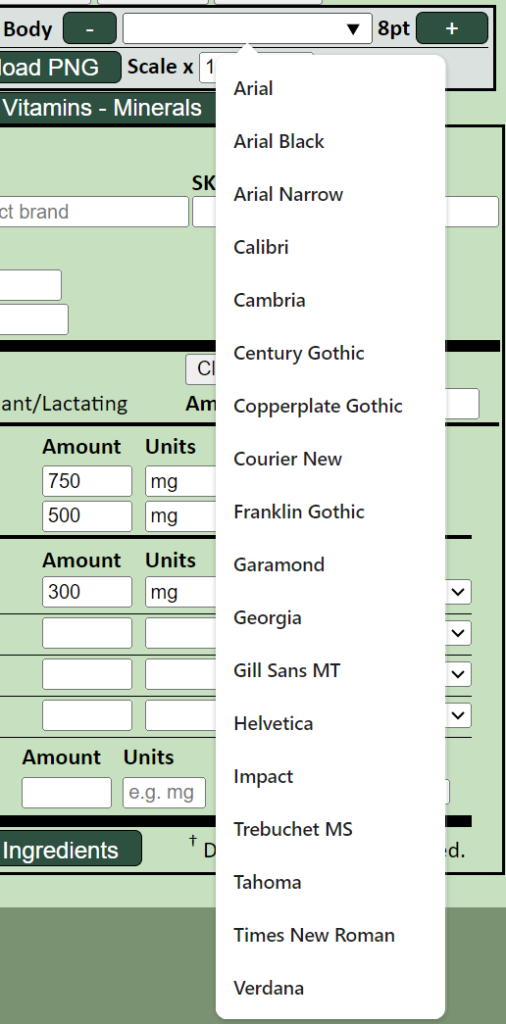
Note that the new drop list works a little differently from previous versions. To see all pre-loaded fonts, clear the text in the field first, otherwise you will only see the matching fonts (default is “Arial”)

In the cleared field, you can also type any font that you have installed. Note that you can type any font name here, but if your browser cannot access your choice of font because it is not installed on your system, it will default to a browser-safe font.

The chosen font is applied to all elements of the Supplement Facts panel.

Not sure this example meets the regulatory requirement of a “single, easy to read font” but you can play around as much as you wish. Enjoy!